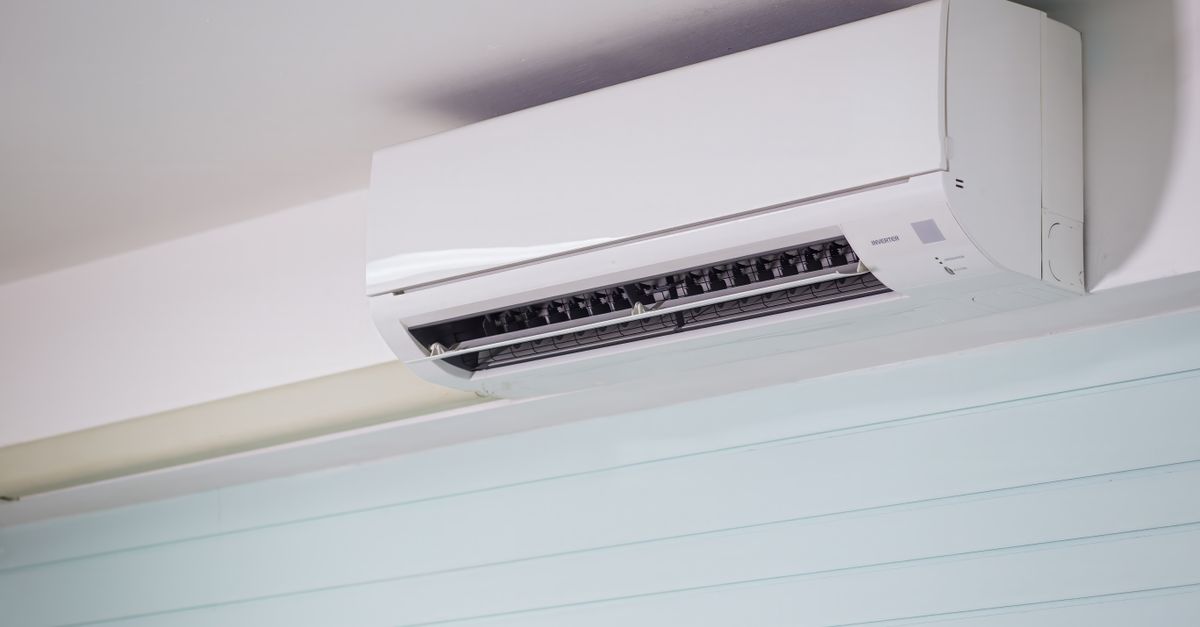
Why is my home air conditioner not cooling enough?
You walk into your home on a sweltering summer day, eager for that blast of cool, refreshing air, only to be met with… disappointment. The AC is running, you can hear it, but the air coming out of the vents feels lukewarm, or perhaps it’s just not strong enough to make a dent in the oppressive heat. You’ve checked the thermostat, maybe even changed the filter, but that elusive chill remains out of reach. In my experience, this isn’t just an inconvenience; it’s a drain on your energy, your mood, and ultimately, your wallet when you start cranking the thermostat lower, hoping sheer force will fix it.
What changed everything for me was realizing that inadequate cooling often isn’t a sign of a dying unit, but rather a series of subtle, overlooked issues compounding. The mistake I see most often is people assuming a single, major breakdown when the reality is a combination of minor inefficiencies creating a significant problem. It’s like trying to fill a bucket with multiple small holes; you keep pouring in energy, but the desired effect never quite materializes.
Key Takeaways
- Ensure your condenser coils are immaculately clean, as even light debris drastically reduces heat exchange efficiency.
- Confirm your ductwork is sealed and insulated properly to prevent significant conditioned air loss before it reaches rooms.
- Verify your refrigerant levels are optimal, as both underfilling and overfilling can cause poor cooling performance.
- Check your condensate drain for clogs, as this can lead to humidity issues and system shutdowns.
Your Outdoor Condenser Coils Might Be Filthy
The condenser unit outside your home is where your AC expels the heat it removes from your indoor air. Think of it as the exhaust system for your home’s heat. If this unit, specifically its delicate fins and coils, is caked in dirt, leaves, grass clippings, or even pet dander, it can’t efficiently release heat. The consequence? The refrigerant stays warmer than it should, and your indoor unit struggles to cool the air to your desired temperature. I once spent a frustrating week trying to figure out why my newly installed, high-efficiency unit was underperforming. I’d checked everything indoors, only to discover the landscaping crew had inadvertently sprayed grass clippings all over the condenser unit. A thorough, gentle cleaning made a world of difference.
Here’s how to address it:
- Safety First: Turn off the power to your outdoor unit at the disconnect box, usually located near the unit, and also at your main electrical panel. This is non-negotiable for your safety.
- Clear Debris: Use a shop vac or your hands to remove any large debris like leaves, twigs, or accumulated grass clippings from around and inside the unit. Make sure to clear at least two feet of space around all sides for proper airflow.
- Gentle Cleaning: For the fins, use a soft brush or a fin comb (available at hardware stores) to gently straighten any bent fins. Then, use a garden hose with moderate pressure (not a pressure washer, which can damage the fins) to spray water from the inside out, if possible. This pushes dirt outwards. If you can’t spray from the inside, spray from the outside down onto the coils. You can also buy specialized coil cleaner sprays for a deeper clean. Follow product instructions carefully.
- Frequency: In my experience, doing this once a season, especially before peak cooling season, can save you a significant amount on energy bills and prevent costly repairs down the line. It’s a 30-minute task that pays dividends.
Your Ductwork Has Leaks or Poor Insulation
Imagine paying to chill a glass of water, then pouring it into a leaky sieve before you can drink it. That’s what happens when your ductwork is compromised. Your AC unit might be producing perfectly cold air, but if your ducts have leaks, unsealed connections, or insufficient insulation, a significant portion of that conditioned air could be escaping into unconditioned spaces like your attic, crawl space, or even inside walls, before it ever reaches your living areas. This is particularly common in older homes, but even newer constructions can have issues. I lived in a house where the upstairs always felt 5-7 degrees warmer than downstairs, despite multiple checks on the AC unit itself. It wasn’t until an energy audit revealed massive leaks in the attic ductwork that we pinpointed the culprit. Sealing and insulating those ducts transformed the comfort levels upstairs.
Here’s how to address it:
- Visual Inspection: Access your attic, basement, or crawl space where your ducts are located. Look for visible gaps, tears, or disconnections in the ductwork. Pay close attention to joints, seams, and where ducts connect to the AC unit or registers. You might even feel cool air escaping if the system is running.
- Sealing Leaks: Use UL-approved mastic sealant (it looks like thick paste) or specialized foil tape (not duct tape, which degrades over time) to seal all leaks and gaps. Apply mastic generously and smooth it over the seams. For foil tape, ensure the surface is clean before applying for a strong bond. Focus on all connections from the main plenum to individual branch lines.
- Insulating Ducts: If your ducts run through unconditioned spaces, they need insulation. Even sealed ducts will lose heat or gain heat through conduction if not insulated. You can use fiberglass insulation with a vapor barrier or rigid foam boards. The goal is to prevent thermal transfer. Aim for an R-value appropriate for your climate (check local building codes).
- Professional Help: For extensive duct issues or if you’re uncomfortable doing it yourself, a professional HVAC technician can perform a duct leakage test and seal/insulate effectively. This investment often has a quick payback in energy savings and improved comfort.
Your Refrigerant Levels Are Not Optimal
Refrigerant is the lifeblood of your air conditioning system. It’s the medium that absorbs heat from your indoor air and releases it outdoors. The common misconception is that refrigerant is ‘used up’ like fuel, and therefore needs regular ‘recharging.’ This is false. Your AC system is a closed loop; if the refrigerant level is low, it means there’s a leak somewhere. And critically, having too much refrigerant (overfilling) can be just as detrimental as too little. Both scenarios prevent the system from achieving the precise pressure and temperature changes needed for efficient heat exchange, leading to poor cooling. I once had a technician ‘top off’ my refrigerant as part of a routine service, only for my AC to start blowing warm air a few days later. A second, more experienced technician discovered it had been overfilled, causing the compressor to work harder without effectively cooling.
Here’s how to address it:
- Professional Diagnosis is Key: Refrigerant is a hazardous chemical, and its handling requires specialized tools and certification. This is not a DIY task. If you suspect low or incorrect refrigerant levels, call a licensed HVAC technician. They have gauges to measure the pressure and can diagnose if you have a leak.
- Repair the Leak First: A good technician won’t just add more refrigerant. They will find and repair the leak. Simply refilling a leaky system is a temporary fix and an environmental hazard, as the refrigerant will escape again.
- Proper Charge: Once the leak is repaired, the system needs to be evacuated (all air and moisture removed) and then recharged with the precise amount of refrigerant specified by the manufacturer. This is usually determined by weight and is critical for optimal performance. The ‘right amount’ is not a guess; it’s a specific measurement.
- Impact of Incorrect Levels: Low refrigerant leads to less heat absorption and can freeze up the evaporator coil. High refrigerant leads to excessive pressure, making the compressor work harder, potentially overheating it and causing less effective cooling.
Your Condensate Drain is Clogged
As your AC cools your home, it also removes humidity from the air. This moisture, or condensate, drips into a pan and then drains out through a PVC pipe, usually outside your home. It’s easy to overlook this humble little drain line, but if it gets clogged with algae, mold, or dirt, the consequences can be significant. A clogged drain pan can overflow, causing water damage to your ceiling or floors, and more immediately, it can lead to higher indoor humidity (making your home feel warmer even at the same temperature) or even cause your entire AC system to shut down as a safety precaution. I once woke up to a dripping sound from my attic, only to find the condensate pan overflowing because of a stubborn algae clog. My AC, which had been struggling to cool, shut off completely shortly after.
Here’s how to address it:
- Locate the Drain Line: Find the condensate drain line. Indoors, it’s typically a PVC pipe exiting the indoor evaporator coil unit (often in your attic, basement, or a utility closet). Outdoors, it’s usually a small PVC pipe sticking out from the side of your house, dripping water when the AC runs.
- Clear the Clog: If the pan is overflowing, you can try to clear a minor clog. Pour a cup of distilled vinegar (not bleach, which can damage seals and react negatively with certain metals) down the access opening of the drain line (if there’s one) or directly into the pan. Let it sit for 30 minutes to an hour to dissolve any buildup. You can also use a wet/dry shop vac to try and suction out the clog from the outdoor end of the pipe.
- Preventative Maintenance: To prevent future clogs, pour a cup of distilled vinegar down the drain line every few months. Some people also use specialized condensate pan tablets that slowly release algaecide. Ensure the outdoor end of the drain pipe isn’t blocked by dirt or overgrown plants.
- Safety Switch: Many AC units have a float switch in the condensate pan that will shut off the system if the water level gets too high, preventing water damage. If your AC has suddenly stopped working, check for a full condensate pan first. Clearing the clog will often allow the system to restart once the water drains.
Frequently Asked Questions
Can my thermostat be the reason my AC isn’t cooling properly?
Yes, absolutely. A malfunctioning thermostat can give inaccurate temperature readings, or its internal components might not signal the AC unit to cool effectively. In my experience, a smart thermostat that’s improperly calibrated or located in a poor spot (like near a heat source) can cause constant cooling issues. Replacing an old, faulty thermostat with a new, accurate one can often resolve mysterious cooling problems. Make sure it’s placed away from direct sunlight, vents, or other heat-generating appliances.
How often should I change my AC filter if it’s not cooling enough?
While a dirty filter rarely causes a complete lack of cooling, it severely restricts airflow, making your system work harder and less efficiently. If your AC isn’t cooling enough, and you haven’t changed your filter recently, it’s the first and easiest thing to check. In my home, with pets, I change my pleated filters every 30-45 days. For homes without pets or severe allergies, every 60-90 days is a good baseline. A clogged filter can lead to the evaporator coil freezing, which will definitely impact cooling.
Does running my fan continuously help with cooling?
Running your AC fan continuously (setting it to ‘ON’ instead of ‘AUTO’) will circulate air, but it won’t necessarily make your home cooler if the AC compressor isn’t running. In fact, if your fan is just moving around unconditioned air, it can make you feel warmer, and it will increase your electricity bill. The ‘AUTO’ setting ensures the fan only runs when the system is actively cooling, which is almost always the more energy-efficient and effective option for comfort.
Can dirty air vents affect my AC’s cooling power?
While dirty air vents aren’t usually the primary cause of insufficient cooling, heavily obstructed or very dirty vents can impede airflow into individual rooms. More importantly, if the ductwork leading to those vents is dirty, it can reduce efficiency and even introduce allergens. My personal approach is to vacuum my registers monthly and have my ducts professionally cleaned every 3-5 years, especially after a renovation, to ensure optimal airflow and indoor air quality.
What temperature should I set my AC to for optimal cooling and efficiency?
There’s a balance between comfort and efficiency. While everyone’s comfort level varies, setting your thermostat too low (e.g., below 72°F) can make your AC work harder than necessary, leading to higher energy bills without a significant increase in comfort. In my experience, aiming for 75-78°F during the day when you’re home and slightly higher (80-82°F) when you’re away or sleeping often provides a good compromise. Using a programmable or smart thermostat to automatically adjust these temperatures can lead to significant savings and consistent comfort.
Getting to the bottom of why your AC isn’t cooling enough often involves looking beyond the obvious. By methodically checking your outdoor unit, ductwork, refrigerant, and condensate drain, you can address the most common culprits. Don’t be afraid to get a little hands-on, or if you’re not comfortable, call in a qualified professional. A truly comfortable home is within reach, and with these insights, you’re well on your way to enjoying that perfect cool breeze. Start with cleaning those coils – it’s a game-changer.
Written by David Miller
health, wellness, and self-improvement
A seasoned freelance writer, David has a talent for researching diverse topics and crafting engaging narratives.
You Might Also Like

The 20-Degree Rule for Home Heating and Cooling: Why Most Advice Misses the Mark
Discover why the common 20-degree rule for home heating and cooling often fails. Learn the strategic adjustments for real energy savings and comfort.

7 Reasons Your Smart TV Feels More Frustrating Than Fantastic
Smart TVs promise seamless entertainment, but often disappoint. Discover 7 overlooked reasons your TV is frustrating you, and how to fix them.

A Beginner's Guide to Thoughtfully Evaluating Online Reviews for Products
Learn to cut through online review bias and find genuinely useful product insights. Discover common pitfalls and how to spot authentic feedback.